By six weeks postpartum, most OB-GYNs clear C-section moms for low-impact movement, and that is when tight glutes from weeks of side-sleeping, nursing posture, and protective bracing finally beg for relief. Learning how to foam roll glutes after c section postpartum requires a gentler approach than pre-pregnancy rolling: you will position yourself to keep all pressure off the incision, use a softer roller or a vibrating one, and skip the lower back entirely until your core has had time to knit back together. This guide walks you through the exact technique, the best foam rollers for postpartum bodies in 2026, and the warning signs that mean stop.
The Six-Week Milestone: Why Now Is the Right Time
A scheduled or emergency C-section cuts through seven layers of tissue: skin, subcutaneous fat, fascia, rectus sheath, separated rectus muscle, peritoneum, and uterus. By week six, the outer incision is closed and the deeper layers have laid down enough collagen to handle gentle pressure on adjacent areas. Your six-week postpartum visit is the green light most providers give for returning to exercise, and that includes foam rolling, provided you get personalized clearance first.
Why the glutes specifically? Two reasons:
- Side-lying nursing and side-sleeping to avoid pressure on the incision shift your weight onto one hip for hours daily. The gluteus medius on the down-side gets compressed; the up-side stays in a shortened position.
- Protective bracing, the natural tendency to pull your knees up and round your spine to protect the incision, chronically tightens the deep external rotators (piriformis, obturators) and the upper glute fibers.
The result by week six is often a deep, achy stiffness in the buttocks that hurts more when you stand up from sitting, climb stairs, or pick up the baby car seat. Foam rolling, done correctly, releases that fascial restriction without touching your healing midline.
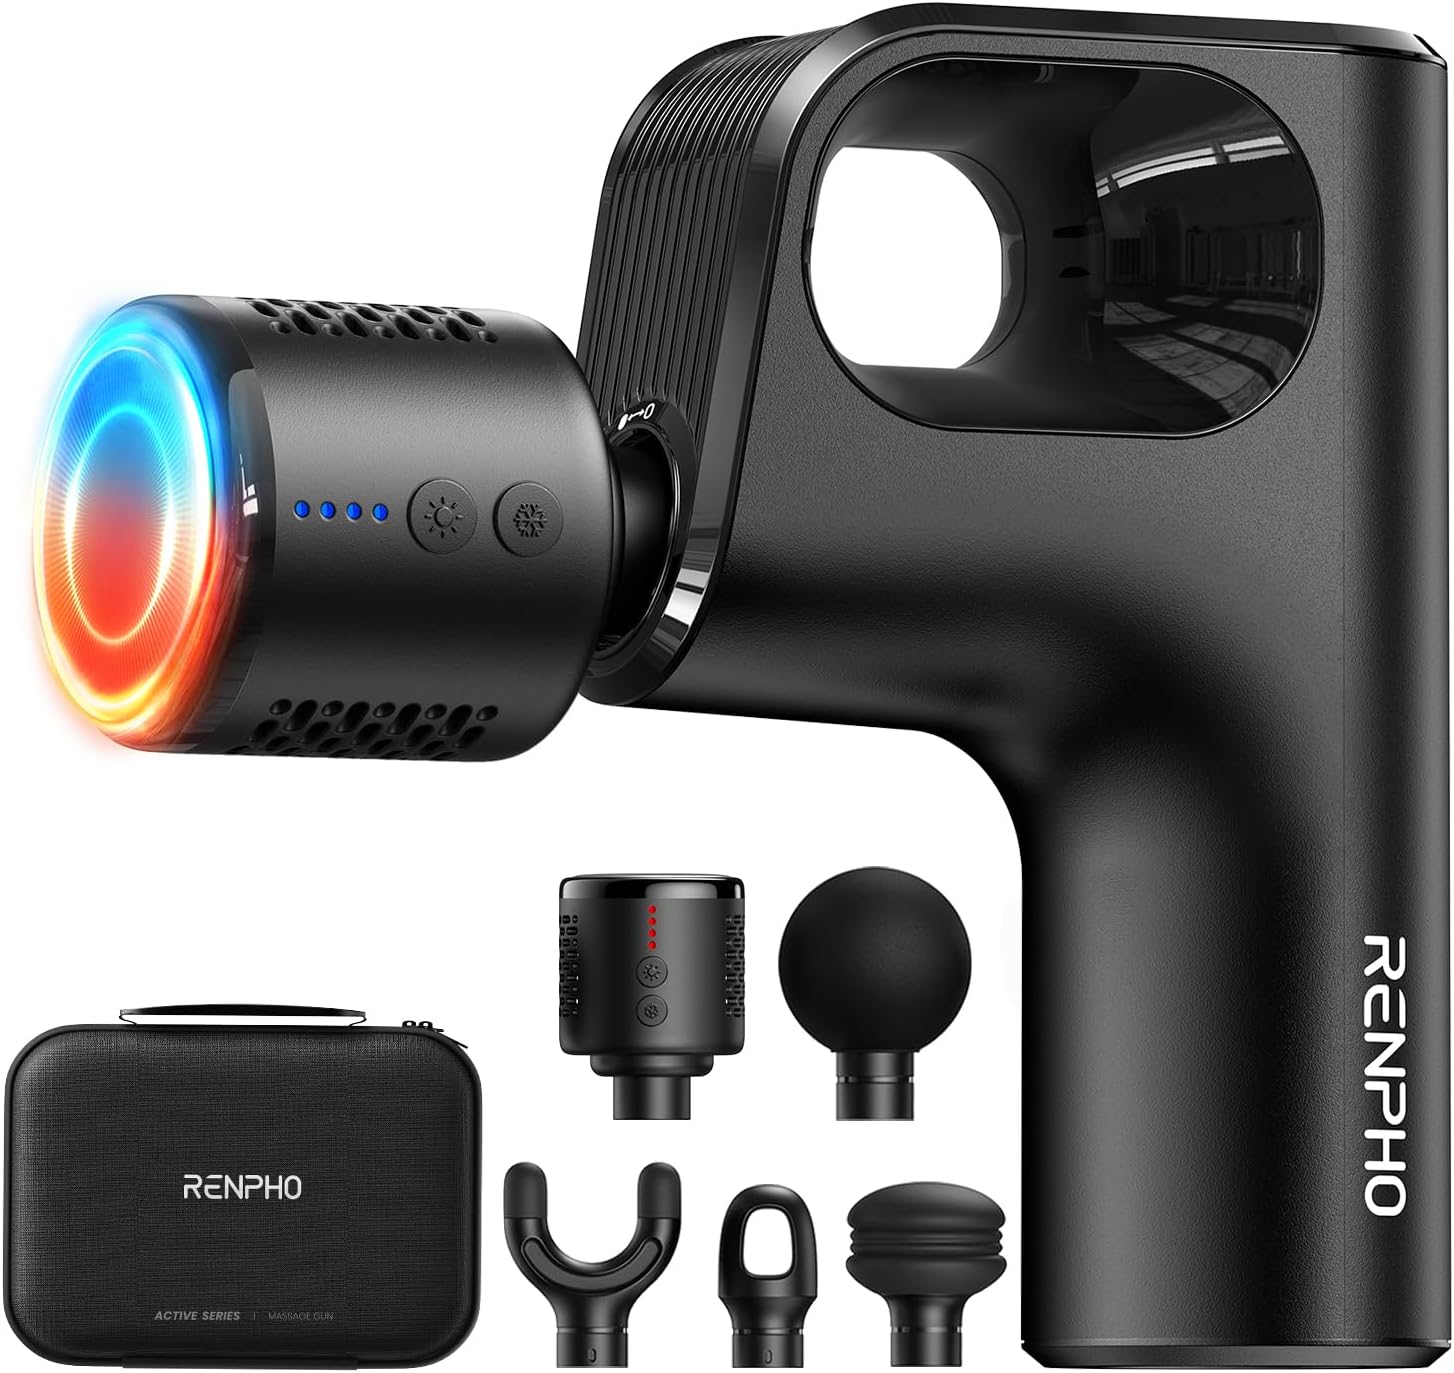
![RENPHO Active Thermacool 2 Massage Gun with Heat and Cold, Fathers Day Dad Gifts [2026 Upgraded] Handheld Percussion Deep ...](https://fitnessrecoveryhub.com/aimg/images/I/61mtD8h+HyL._AC_SL1500_.jpg)
Pre-Roll Safety Check
Before your first session, walk through this checklist:
- OB-GYN clearance at your six-week visit specifically for “exercise including foam rolling.”
- Incision check: no redness, drainage, opening, or sharp pain when you press gently around the scar.
- Diastasis recti screen: lie on your back, lift your head, and feel for a gap between your rectus muscles. A gap wider than two fingers means you will need to work with a pelvic floor PT before any prone-position rolling.
- Pelvic floor symptoms: heaviness, leaking, or pressure means see a pelvic floor PT before adding rolling.
- Hydration: drink 16-20 oz of water in the hour before rolling. Fascia is largely water and slides better when you are hydrated.
If any of those flags are present, pause and call your provider. The whole point of doing this safely is staying healed.
How to Foam Roll Glutes After C Section Postpartum: Step-by-Step Technique
The core difference from pre-pregnancy rolling is positioning. You will not lie face-down on the roller and you will not roll your lower back. Every position below keeps your incision area neutral and unloaded.
Position 1: Seated Single-Glute Roll
- Sit on the floor with the roller behind you, perpendicular to your spine.
- Place the roller under one buttock only.
- Cross the ankle of the rolled side over the opposite knee (figure-4 position).
- Plant your hands behind you for support. Do NOT crunch your abdominals to lift up.
- Use your arms and the planted foot to gently shift weight back and forth across the roller.
- Cover the entire glute from the top of the hip bone down to where the cheek meets the hamstring.
- Spend 60 to 90 seconds per side.
This is your default position for the first two weeks of rolling. It loads only the side you are working and never engages the rectus abdominis.
Position 2: Targeted Piriformis Release
The piriformis sits deep under the gluteus maximus and refers pain into the lower buttock and down the back of the leg.
- Same setup as Position 1.
- Once you find a tender spot in the upper-outer quadrant of the glute, stop rolling.
- Hold static pressure for 30 seconds while you breathe slowly into your belly (not your chest).
- Slowly straighten and re-bend the crossed leg three times to floss the piriformis under the pressure.
Position 3: Wall-Assisted Roll (Weeks 6-8)
If floor positioning feels unstable or your incision is still tender to the prone position:
- Place the roller vertically between your glute and a wall.
- Stand a step away from the wall and lean into it.
- Bend and straighten the standing leg to drive the roll up and down.
- This removes any abdominal involvement entirely.
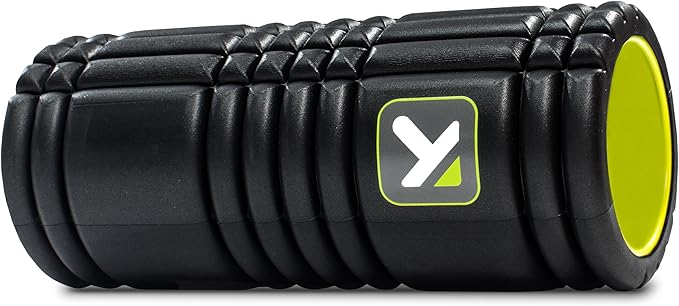
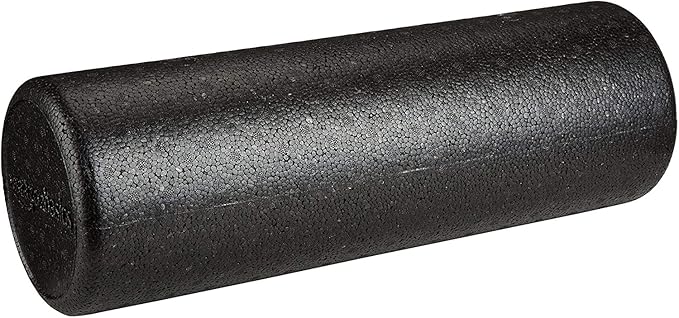
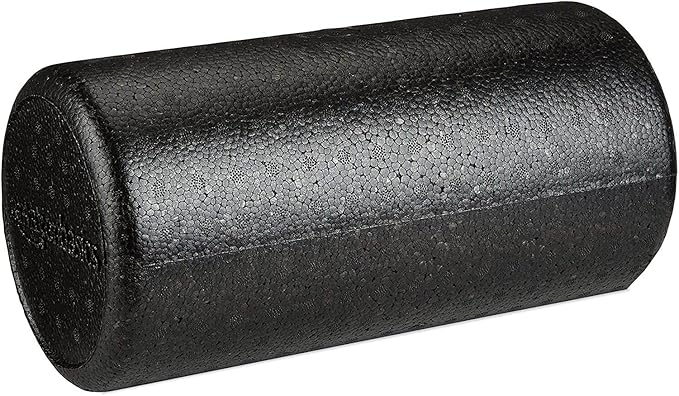
Best Foam Rollers for Postpartum Glute Recovery in 2026
Not every roller is right for a six-week postpartum body. Density, surface texture, and whether the roller vibrates all change how aggressive the release feels. Here is how the five most relevant options compare for this specific use case.
| Roller | Density | Length | Best For | Postpartum Friendliness |
|---|---|---|---|---|
| Amazon Basics High-Density 18" | Firm | 18" | General lower-body work | Good once tenderness fades (week 8+) |
| FITINDEX Vibrating 5-Speed | Firm with vibration | 13" | Deep release at low intensity | Excellent: vibration lets you use less pressure |
| Krightlink 5-in-1 Set | Mixed | Varies | Trying multiple tools | Very good: start with the softest piece |
| TriggerPoint Grid 1.0 | Multi-density | 13" | Targeted piriformis work | Good: shorter length is easier to control |
| Amazon Basics Round High-Density | Firm | Compact | Budget pick | Wait until week 8+, use a towel buffer early on |
FITINDEX Vibrating Foam Roller: Best Overall for Postpartum
The vibration motor is the real game-changer here. Vibration desensitizes the local nervous system, which means you can hold lighter pressure and still get a deep release, exactly what a six-week postpartum body needs. Five speeds let you start at level one and increase only if it feels good. It is also FSA/HSA eligible, so if you have funds left in your account, this purchase can come out of pre-tax dollars. The 13-inch length is short enough to wedge under a single glute without rolling out from under you. Check the FITINDEX Vibrating Foam Roller on Amazon: FITINDEX Vibrating Foam Roller for Back Pain, FSA&HSA E
TriggerPoint Grid 1.0: Best for Piriformis Pinpointing
The Grid’s multi-density surface has firmer fingertip-like ridges and softer palm-like sections that mimic a hands-on therapist. For the deep piriformis hold described above, the firmer ridges sink into the muscle without bruising the surrounding tissue. At 13 inches it is compact, travels well, and the hollow core makes it noticeably lighter than the solid foam options. Check the TriggerPoint Grid 1.0 on Amazon: TriggerPoint Grid 1.0 Foam Roller - 13" Multi-Density M
Krightlink 5-in-1 Set: Best for Building a Recovery Kit
This set includes a hollow foam roller, a muscle roller stick, a spiky massage ball, a peanut ball, and a stretching strap. The peanut ball is particularly useful postpartum: you can place it under your sacrum with the two lobes straddling your spine and let gravity decompress your SI joint without any glute pressure at all. Good value if you are building out a recovery kit from scratch. Check the Krightlink 5-in-1 Set on Amazon: Krightlink 5 in 1 Foam Roller Set for Deep Tissue Muscl
Amazon Basics High-Density 18-inch: Best Budget Pick (After Week 8)
The classic firm foam roller. At 18 inches it is long enough to do bilateral work later in your recovery (think calves, lats, mid-back) and it costs less than a takeout dinner. The catch: it is genuinely firm. For the first couple of weeks of glute rolling, wrap it in a thin towel to soften the pressure, or save this one for when you are closer to two months postpartum. Check the Amazon Basics 18-inch on Amazon: Amazon Basics High-Density Foam Roller for Exercise and
Amazon Basics Round High-Density: Most Affordable Entry
Identical foam construction to the 18-inch in a shorter, round profile. Same firmness caveat applies: use a towel buffer for the first two weeks of glute work, or pair it with one of the softer options above. Check the Amazon Basics Round on Amazon: Amazon Basics High Density Foam
A Two-Week Starter Routine
Days 1-3 (Week 6): One session per day, Position 1 only, 60 seconds per side, lightest pressure that produces any sensation. Stop immediately if you feel pulling at the incision.
Days 4-7 (Week 6): Add Position 2 (piriformis hold) on the tighter side. Still one session per day.

Week 7: Two sessions per day, morning before lifting the baby, evening after the longest stretch of holding. Add Position 3 if standing feels better than floor work.
Week 8: You can begin to roll the upper back (lats, thoracic spine) but continue to avoid the lower back. By now your fascia should be moving more freely and the deep ache you started with should be noticeably reduced.
For a deeper dive on layering core recovery into your routine, see our guide to diastasis recti and foam rolling and our breakdown of vibrating versus standard foam rollers for postpartum bodies.
Mistakes to Avoid
- Rolling the incision area directly. Even if it feels healed externally, deeper layers take 12+ weeks to fully remodel.
- Lying face-down on the roller before 10-12 weeks postpartum. This loads the abdominal wall in ways that can aggravate diastasis recti.
- Rolling your lower back. Never a great idea for anyone, especially not postpartum when the multifidus has been deconditioned.
- Holding your breath during piriformis pressure. Breath-holding spikes intra-abdominal pressure, which is the exact opposite of what your healing core needs. Slow nasal breathing into the belly is non-negotiable.
- Treating soreness with more aggression. If a spot is painful, go softer, not harder. Postpartum tissue bruises more easily.
- Skipping pelvic floor PT. Foam rolling does not replace pelvic floor work. If you have any urinary leaking, heaviness, or pelvic pain, the roller is an adjunct, not a substitute. Our postpartum pelvic floor recovery guide covers the full picture.
When to Call Your Provider
Stop rolling and call your OB-GYN if you experience:
- Any incision redness, swelling, warmth, or drainage after a session
- Sharp pain (versus normal muscle soreness) at or near the incision
- New onset of urinary leaking or pelvic heaviness
- Bleeding heavier than expected for week 6-8 postpartum
- Sciatic-type pain (shooting down the leg) that gets worse rather than better with rolling
Frequently Asked Questions
Can I foam roll at four weeks postpartum after a C-section?
No. Most providers want you at six weeks minimum and many prefer eight, particularly for any prone or weight-bearing recovery work. The deeper tissue layers from a C-section take longer to heal than the visible scar suggests. Wait for your six-week clearance, then start with the gentlest position described above. The whole framework for how to foam roll glutes after c section postpartum assumes that clearance is in hand.
Will foam rolling help my postpartum lower back pain?
It can help indirectly. Most postpartum back pain comes from tight hip flexors, glutes, and thoracic spine, not the lower back itself. By releasing the glutes and the upper back at week six, you reduce the compensatory pulling that triggers low-back ache. Do NOT roll directly on the lumbar spine, especially while your core is still recovering.
How long should each glute foam rolling session take?
Five to eight minutes total: 60 to 90 seconds per side in Position 1, plus a 30-second static hold per side in Position 2 if you have found a trigger point. More is not better postpartum. Longer sessions can leave tissue bruised and aggravated.
Is a vibrating foam roller safe at six weeks postpartum?
Yes, on the glutes and lower body, used at low speeds. Avoid placing a vibrating roller directly on your abdomen, lower back, or anywhere near the incision. The vibration itself is actually gentler on tissue than firm static pressure because it lets you use less weight to get the same release.
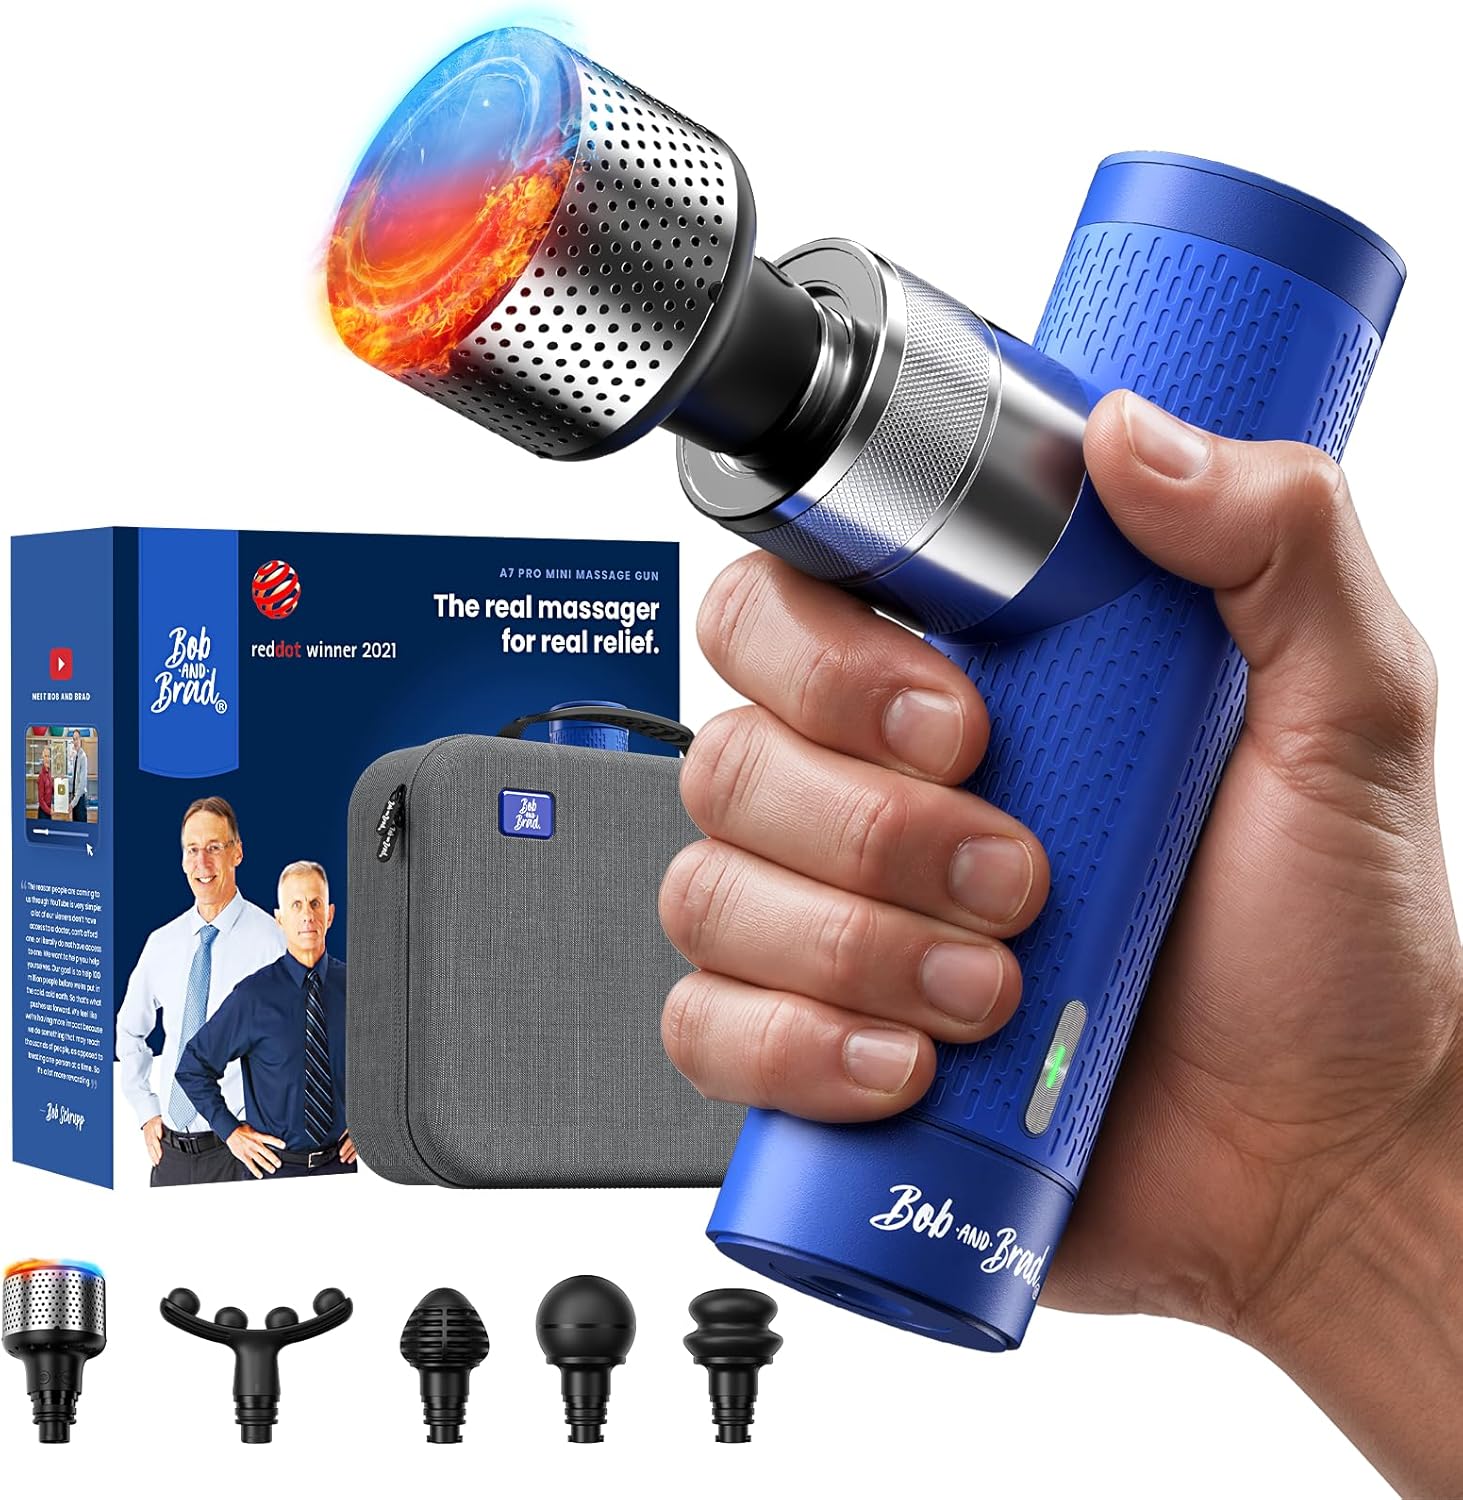
What is the difference between foam rolling and massage gun therapy after a C-section?
Foam rolling distributes pressure broadly across a muscle and works the fascial sheath. Massage guns deliver narrow, percussive pressure into a single point. At six weeks postpartum, foam rolling is the safer starting point because the pressure is easier to control and modulate. If you want to add a massage gun later, our postpartum massage gun guide covers the head attachments and speed settings that work for healing bodies.
Can foam rolling help with C-section scar tissue?
Indirectly, yes, once you are past 12 weeks. Foam rolling does NOT touch the scar directly. Instead, it releases the surrounding fascia that often gets pulled toward the scar as it heals, which can reduce that “tight band” feeling across the lower abdomen. For direct scar mobilization, see a pelvic floor PT who is trained in scar massage.
Do I need a special postpartum foam roller or is a standard one fine?
A standard foam roller is fine if you choose one with appropriate density and use a towel buffer for the first two weeks. The two features that genuinely help postpartum recovery are vibration (lets you use less pressure) and a shorter length (easier to position under a single glute without rolling out). The FITINDEX vibrating roller checks both boxes; the TriggerPoint Grid is a good non-vibrating compact option.
Key Takeaways
- Choosing the right how to foam roll glutes after c section postpartum means matching capacity and output ports to your actual devices
- Always check actual watt-hours (Wh), not just watts — runtime depends on Wh, not peak output
- Also covers: postpartum foam rolling after cesarean
- Also covers: c section recovery glute rolling timeline
- Also covers: 6 weeks postpartum foam roller safe
- Compare price-per-Wh across models to find the best value for your budget